
-
Choose the checkbox of the “
Services" that you would like to install from the choices given. The “Platform" services are selected by default and cannot be removed. Then click on the "Next" button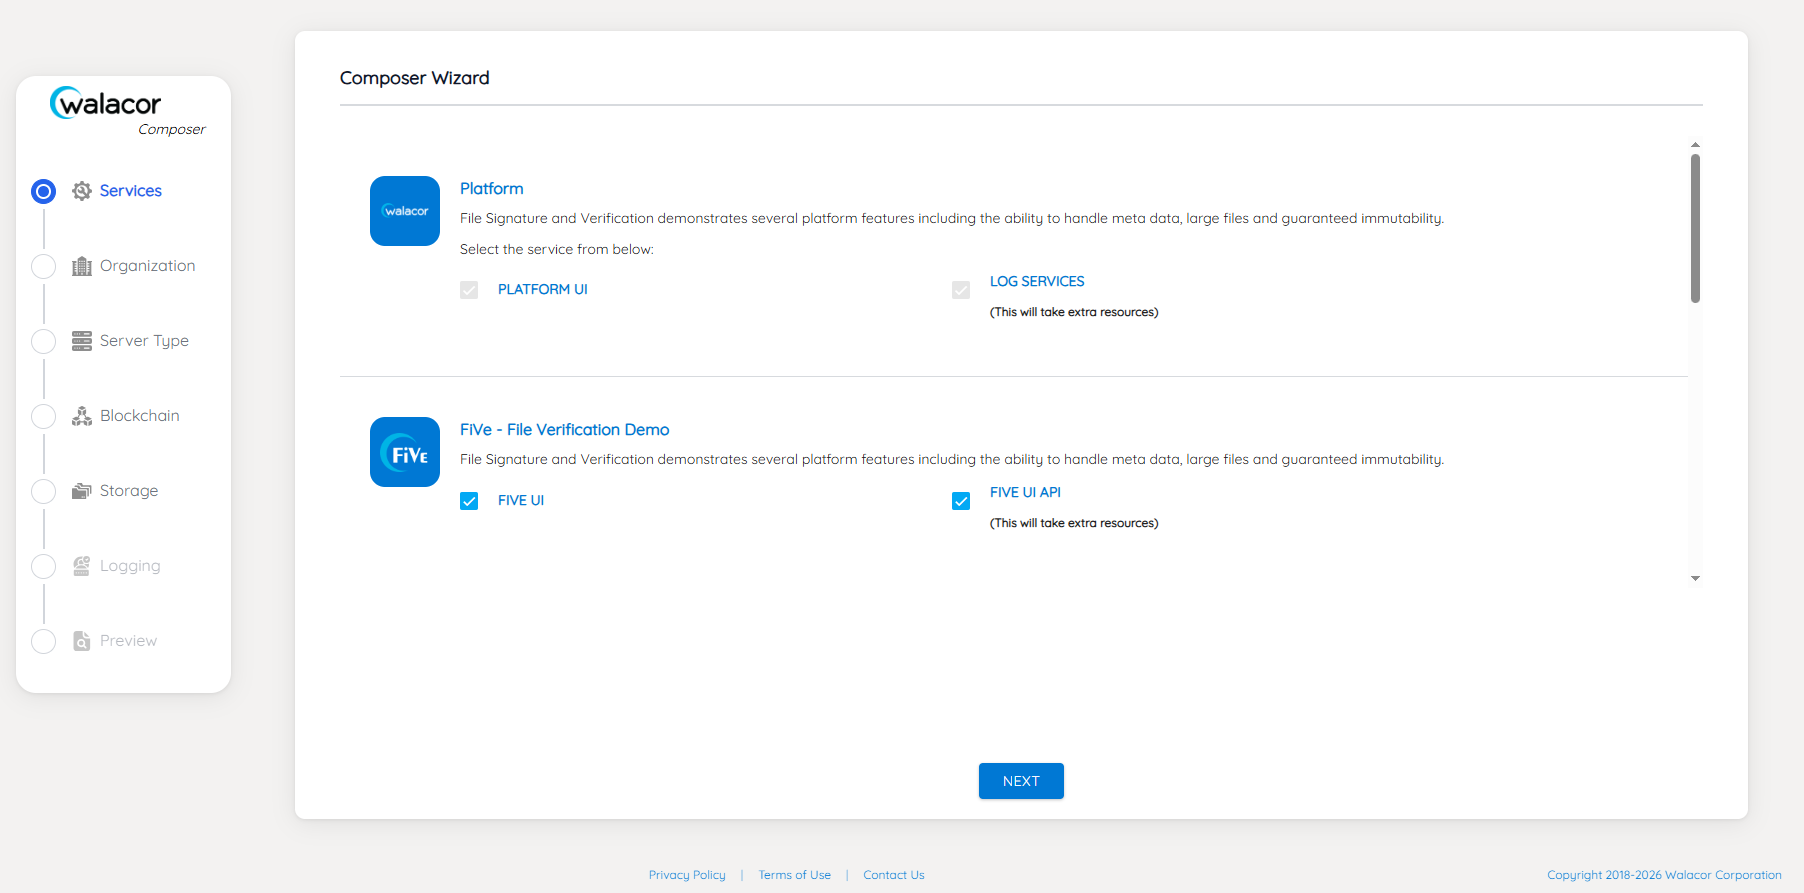
Figure : Services
-
Name your “
Organization" on this screen then Click on the "Generate" button to create a unique Organization ID. Then click the "Next" button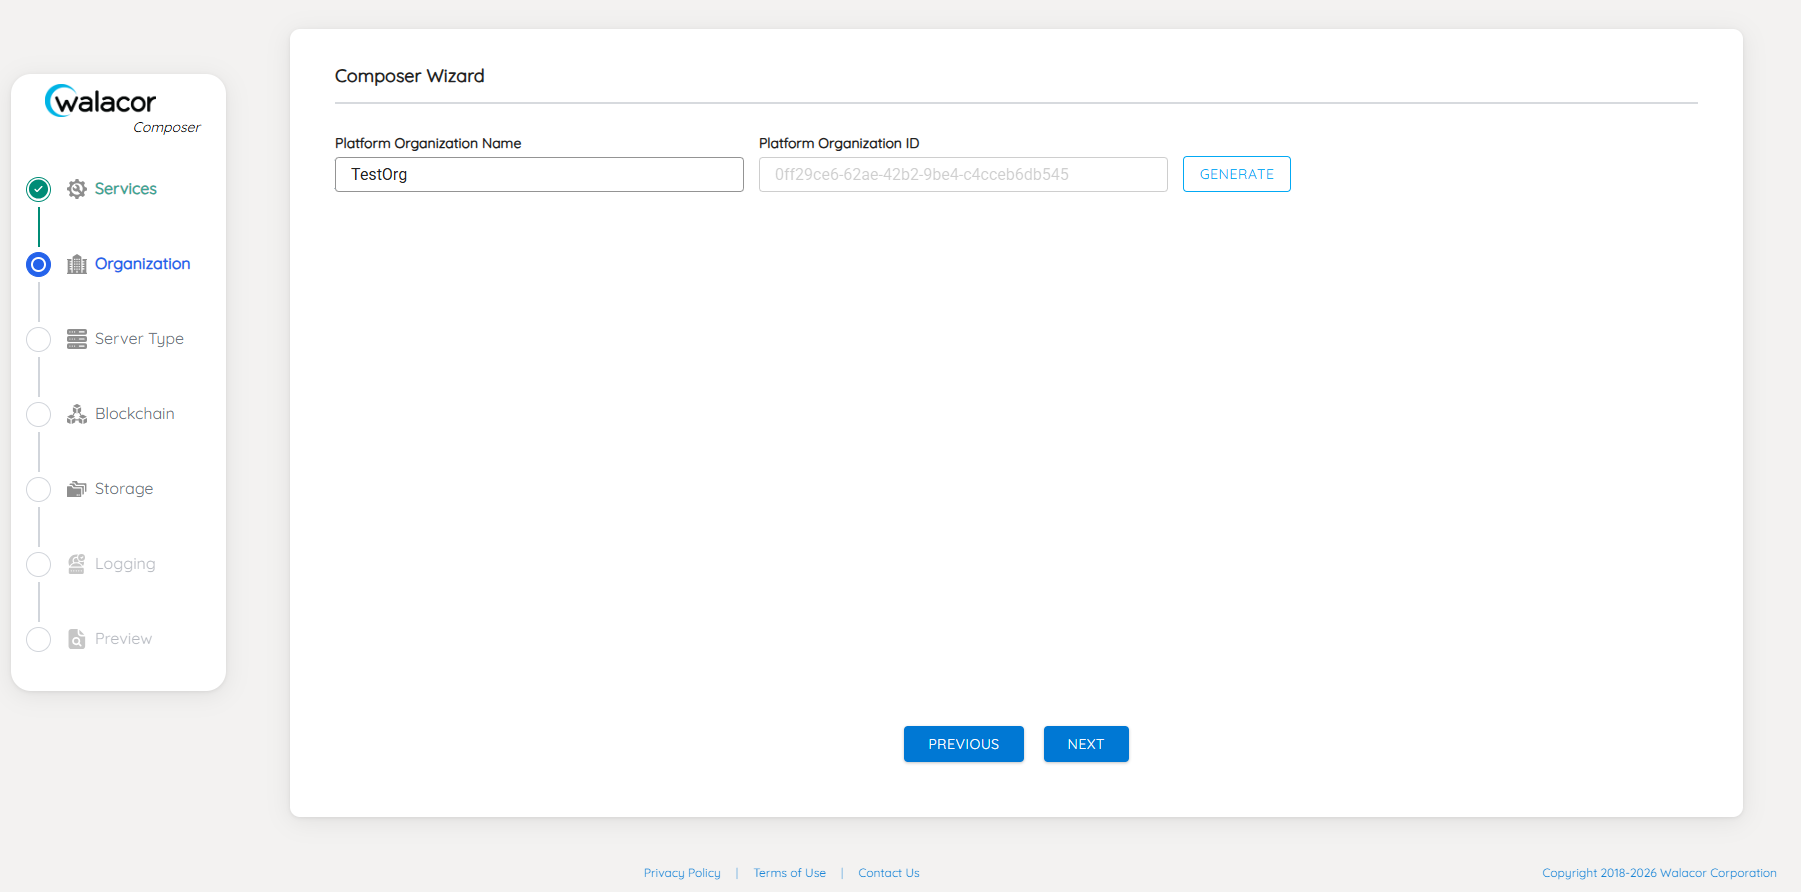
Figure : Organization
-
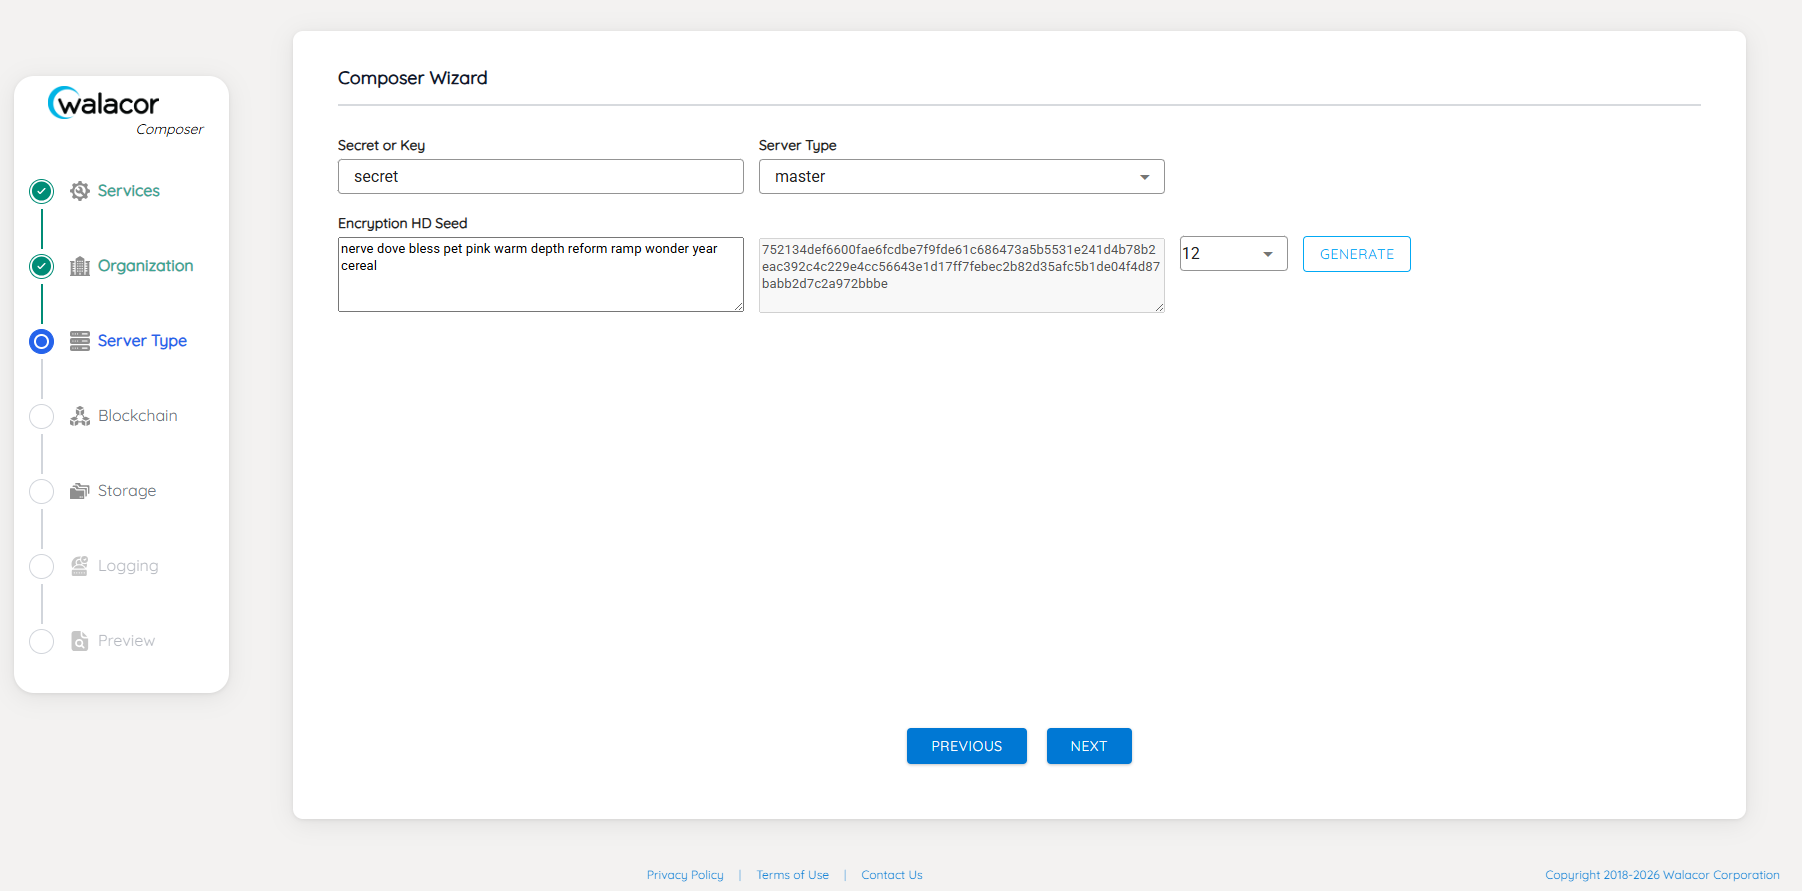
Choose the “
Server Type" in the tab: by selecting “master” from the drop-down menu:-
Choose one of the values ("12 or 24") and click the “
Generate" button -
Words will be generated into the "Encryption HD Seed" window and a unique key will be generated
-
Click the “
Next" button
-
-
Select your “
Sharing Type" if needed and add a name for your private blockchain in "Chain Name" (Enter any alphanumeric text value) and click "Next"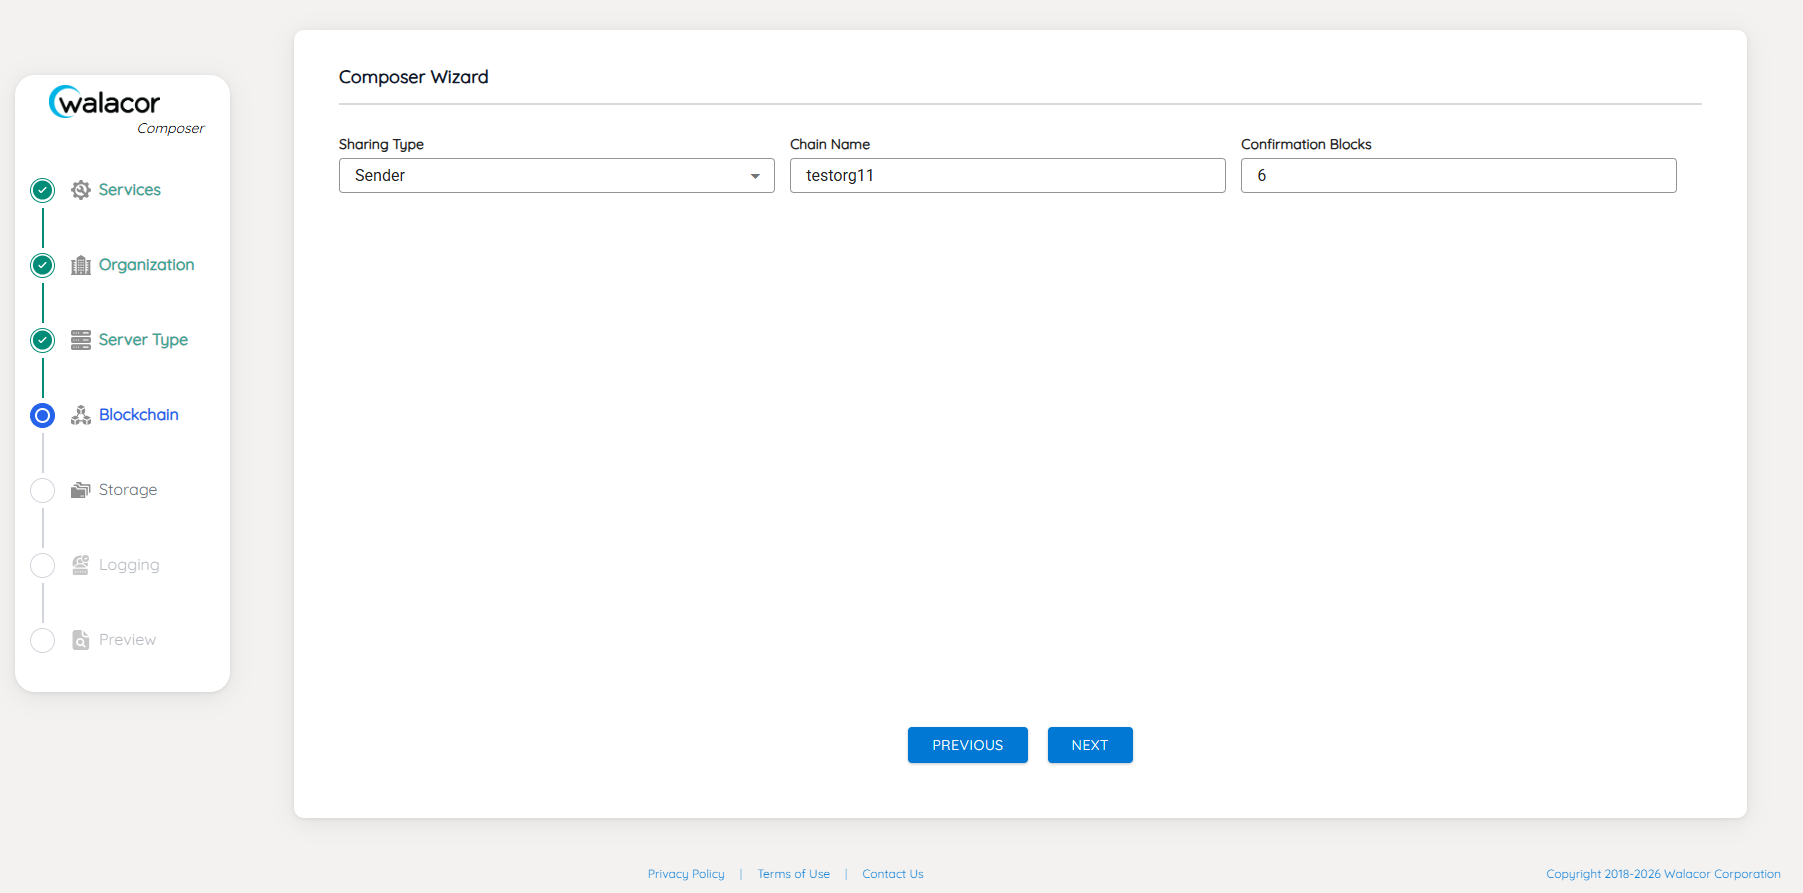
Figure : Blockchain Name
-
Choose “
Storage Type". Based on your preference (AWS S3 Storage or Local Storage)-
AWS S3 Storage is the default choice. Fill in with the proper values. Click "
Next"
-
b. To use Local Disk Storage: Select "Local" in “Storage Type" drop-down window
-
Choose the “
Log Level" that you would like to use. Use default settings and click "Save And Exit"
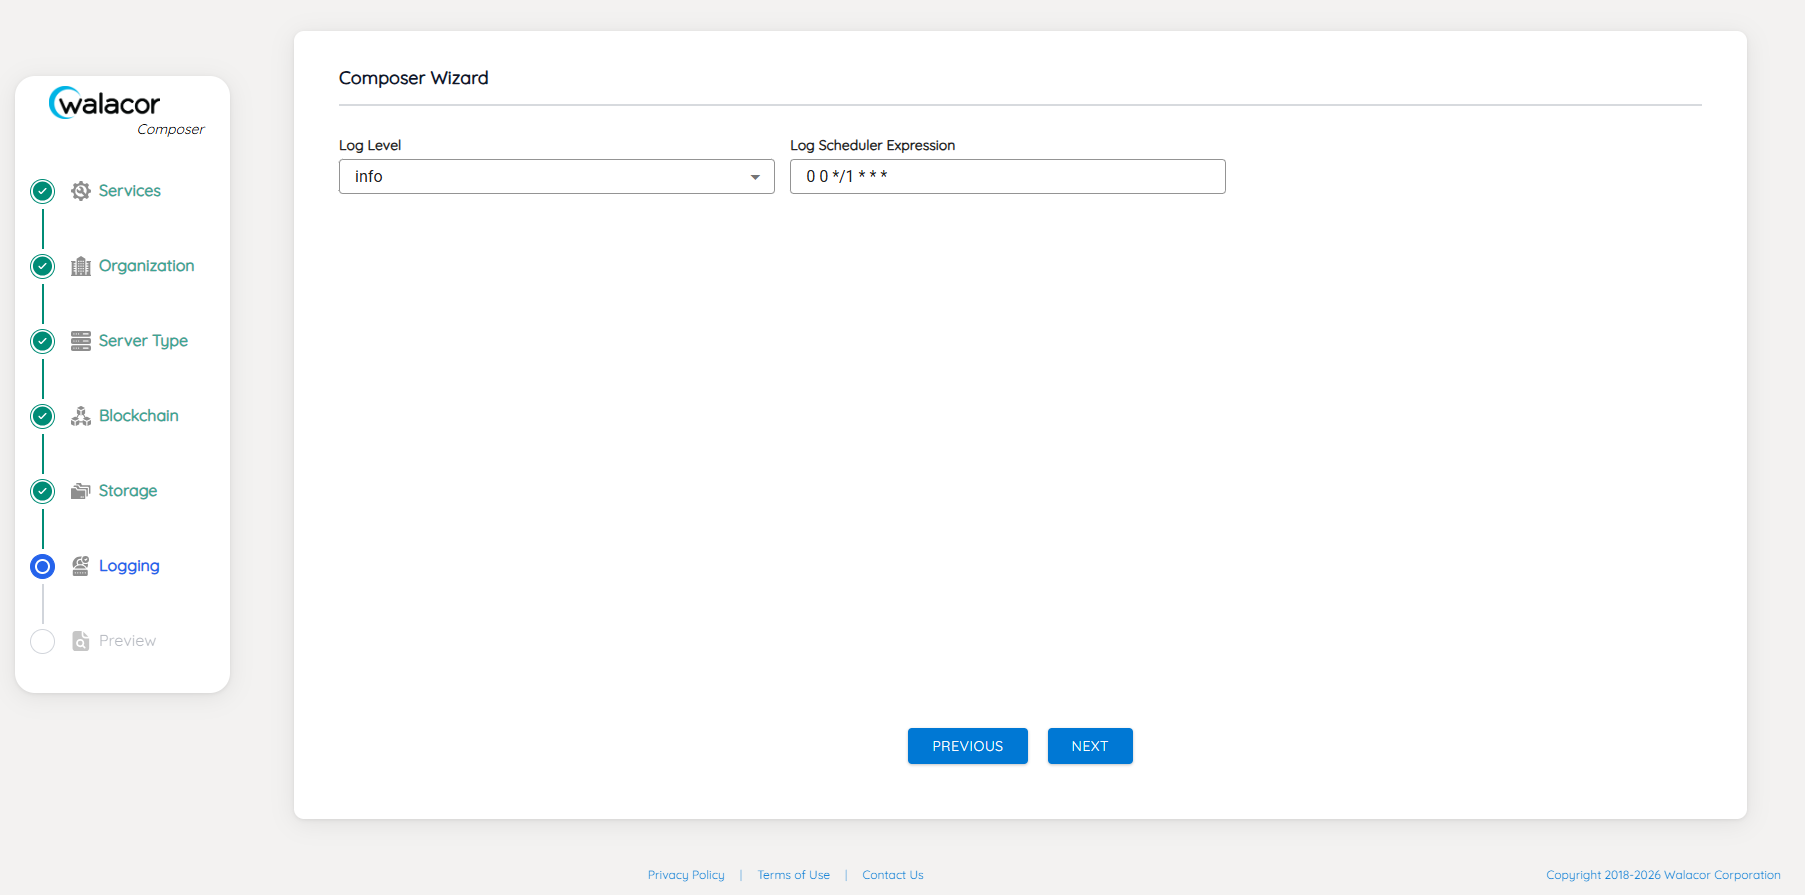
7. Settings page will load with the new configuration variables from Composer setup. Print by clicking "Save PDF" and then "Save And Exit"
-
System will begin initializing the server with the new environment settings from Composer. Refresh the browser page after about 7 minutes
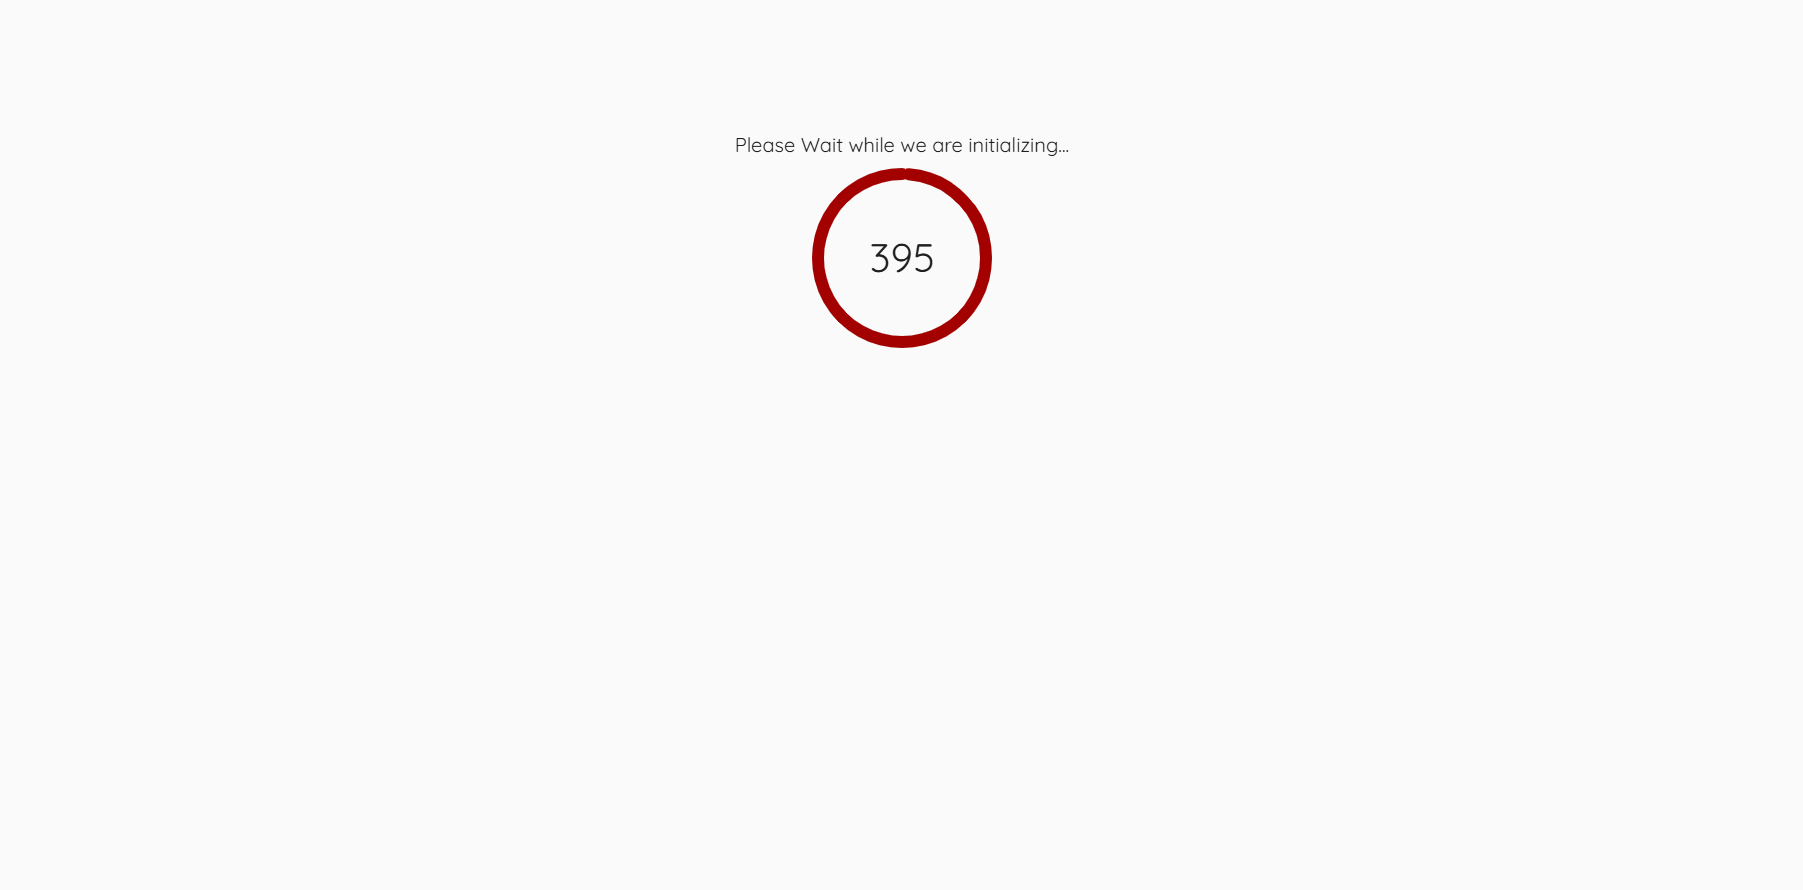
Figure : System Initialization
-
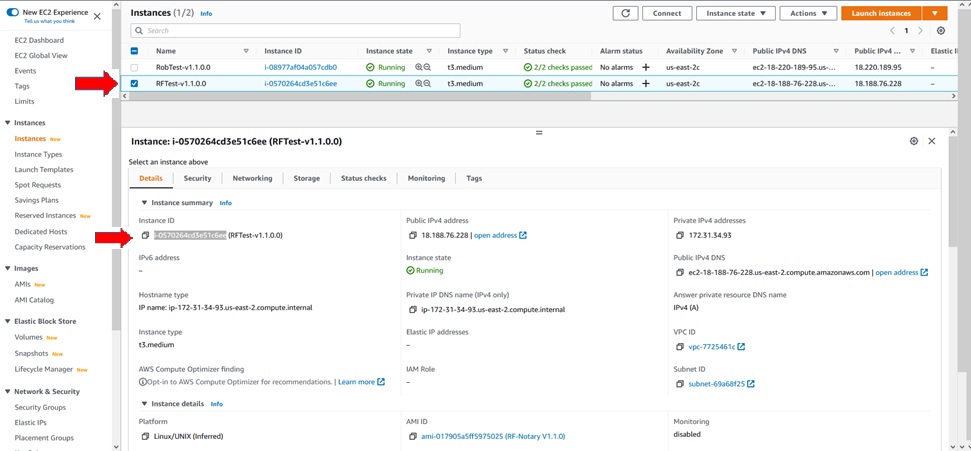
Go to your AWS EC2 Instance screen: Select the new instance in the Instance window. Highlight and copy the Instance ID. This is the new password to log into the new server.
-
Go to the browser and log into the new server:
-
Username = Admin
-
Password = (Instance ID)
-
Click “
Submit" -
Screen will prompt to change the password.
-
-
Please Sign-in again with new password and test.